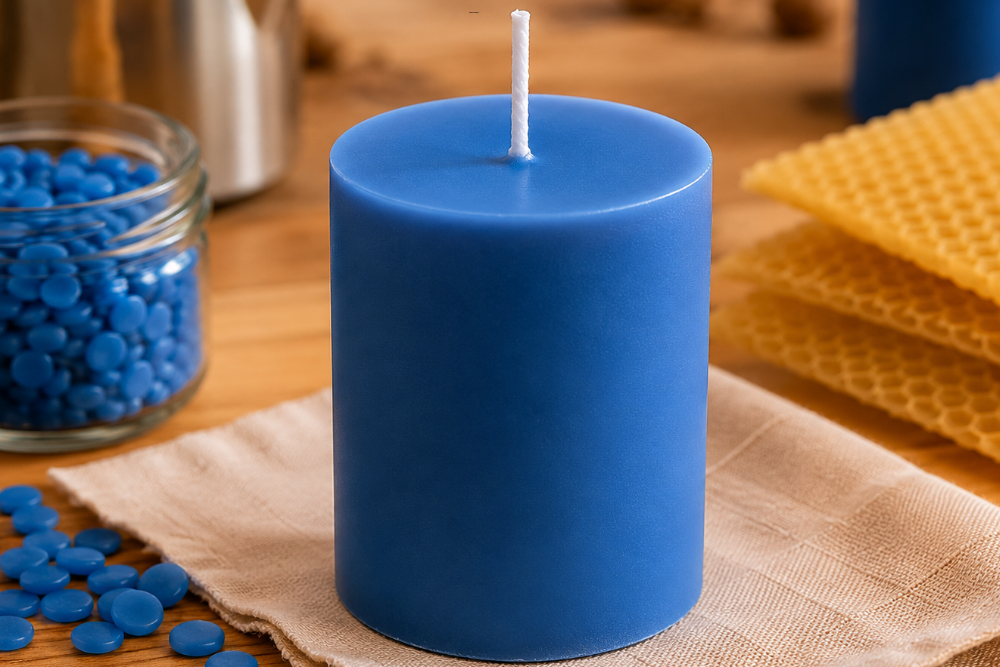
There’s something timeless about handmade beeswax candles. Their warm glow, natural honey aroma, and clean burn make them a favorite for both beginner and experienced candle makers. But one challenge many people run into is achieving a smooth, professional-looking finish without cracks, sinkholes, or uneven surfaces.
The good news? A few small adjustments during the candle-making process can make a major difference. From melting temperatures to cooling conditions, every step matters when working with beeswax. Here’s how to create smooth, beautiful beeswax candles that dry evenly and look polished from top to bottom.
Start with High-Quality Beeswax
The quality of your wax plays a major role in the final appearance of your candles. Pure, filtered beeswax melts more consistently and helps reduce impurities that can affect texture.
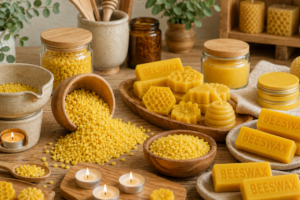
Using high-quality wax like our PureHive Beeswax can help create smoother, cleaner-burning beeswax candles with a more polished finish. Our beeswax is carefully filtered for consistency, melts evenly, and is ideal for candle makers looking to achieve professional-looking results at home.
Look for beeswax that is:
- Triple-filtered or refined
- Free from additives or fillers
- Consistent in color and texture
Using clean, high-quality wax gives your beeswax candles a smoother finish and helps prevent uneven cooling during the drying process.
Melt the Wax Slowly and Evenly
One of the most important steps in candle making is properly melting the wax. Beeswax has a higher melting point than many other candle waxes, so patience is key.
Avoid overheating the wax. Excessive heat can cause discoloration, brittleness, and cracking once the candle cools. Instead:
- Use a double boiler whenever possible
- Heat the wax gradually
- Stir gently and consistently
The ideal melting temperature for beeswax is typically around 145°F to 160°F. Keeping the temperature controlled helps the wax pour more evenly and reduces the chance of air pockets forming inside your beeswax candles.
Warm Your Containers Before Pouring
Cold jars or molds are one of the most common causes of cracking and uneven surfaces. When hot beeswax is poured into a cold container, the outside cools too quickly while the center remains warm. This uneven cooling often leads to cracks or sinkholes.
To avoid this:
- Warm glass jars or molds slightly before pouring
- Place containers in a warm room
- Avoid pouring wax into cold or drafty surfaces
Even a small amount of warmth can help your beeswax candles cool more evenly and maintain a smooth top layer.
Pour at the Right Temperature
Pouring temperature matters just as much as melting temperature. If the wax is too hot, it may shrink unevenly while cooling. If it’s too cool, it can create lumps or rough textures.
For most beeswax candles, pouring around 135°F to 145°F works well. This allows the wax to settle smoothly without cooling too quickly.
Pour slowly and steadily to minimize trapped air bubbles. A gentle pour creates a cleaner surface and helps the wax level naturally.
Let Candles Cool Slowly
Rapid cooling is one of the biggest causes of cracks in beeswax candles. Beeswax naturally contracts as it cools, so sudden temperature changes can create splits or uneven tops.
For the smoothest finish:
- Allow candles to cool at room temperature
- Keep them away from fans, windows, or air conditioning vents
- Avoid moving candles while they are setting
Some candle makers even cover freshly poured candles loosely with a towel to slow the cooling process. The slower the wax cools, the more evenly it solidifies.
Watch for Sinkholes and Re-Pour if Needed
Because beeswax contracts as it dries, small sinkholes can sometimes appear around the wick. This is completely normal.
If needed:
- Let the candle fully cool
- Melt a small amount of additional beeswax
- Pour a thin top layer to level the surface
This second pour can dramatically improve the final appearance of your beeswax candles and create a smooth, professional finish.
Trim Wicks and Cure Properly
Once your candles have fully hardened, trim the wick to about ¼ inch. Letting beeswax candles cure for a few days before burning can also improve their performance and appearance.
Curing allows the wax structure to fully stabilize, helping the candle burn cleaner and more evenly over time.
Final Thoughts
Making smooth, crack-free beeswax candles comes down to patience, temperature control, and slow cooling. By carefully melting the wax, warming containers, pouring at the correct temperature, and allowing candles to cool gradually, you can create candles with a polished finish and long-lasting beauty.
With the right process, handmade beeswax candles can look just as stunning as store-bought versions—while offering the natural charm and craftsmanship that make them truly special.
Want to see the full process step-by-step? Watch our YouTube tutorial for a complete guide to making smooth, beautiful beeswax candles at home.